
so it seems that some people are having some trouble cutting vinyl.
and that makes me sad.
cause it's my most favorite medium.
i have an ongoing list of stuff i want to add vinyl too...
like my sewing machine, my kitchenaid, my desk, a shelf, some sunglasses, earring....and i could go on...
so let's get to it so we can all get a little vinyl happy!
alrighty...before we start we are going to talk about cutting without the mat....
i first couldn't get my cameo to cut without the vinyl turning all wonky.
and so i ACTUALLY read the instructions they give you...and found out you can move the rollers....
(those little white things)
(and after i knew about it...i found out that those instructions on the lid tells you all about it)

now. another thing that i didn't realize and then when i did i felt like an idiot....
to use your cameo without a mat...you really need full pieces of vinyl (no scraps)
the sides of the vinyl need to stay under the rollers the whole time to stay in place

once you get down to the yellow arrow the vinyl will start to turn and get off track!
so to cut without a mat..you have to have a full vinyl. save your scraps for the mat!
( i got a text from a girl that was having problems...and after trouble shooting all my advice...her machine was defective...so it happens. don't think that it's just you! sometimes it's not!)
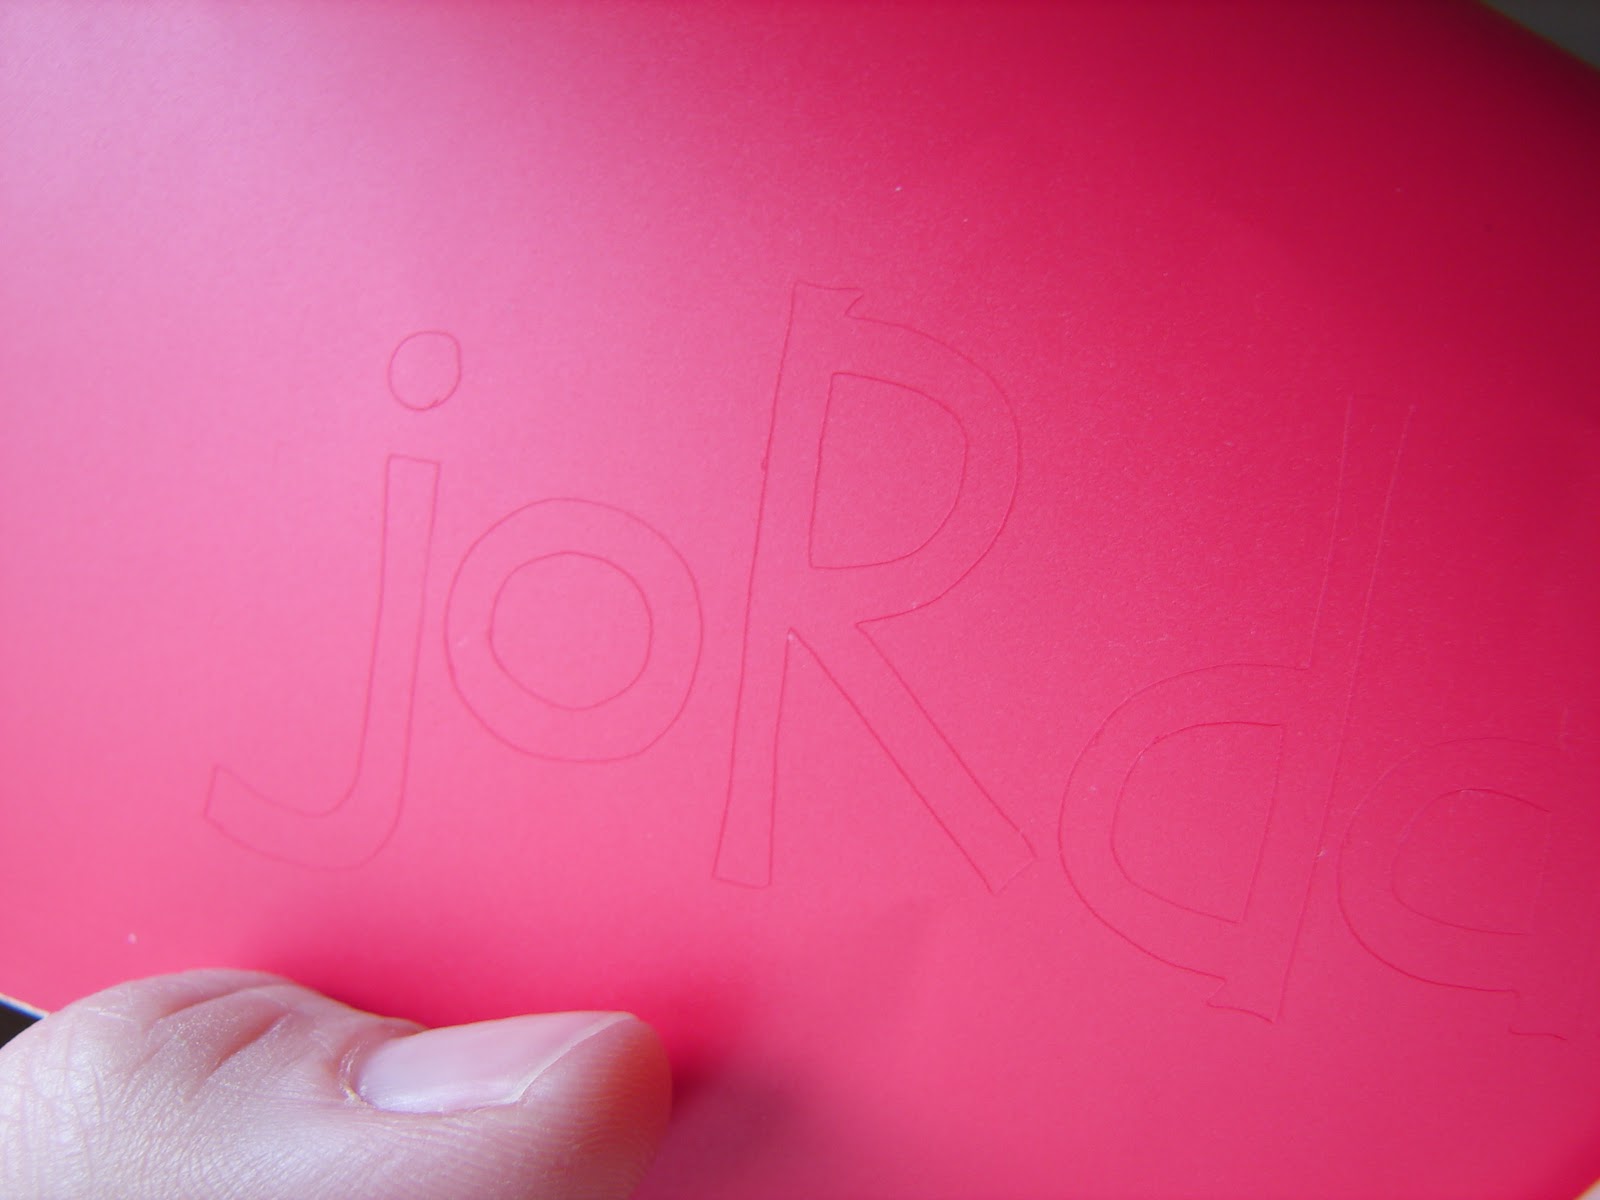
here's the trick with vinyl...you want the pressure to cut through the vinyl...but not the backing.
you want to be able to make your cut...peel away the negative space and be left with your vinyl like this...

it's all ready for some transfer tape!
(if you cut it all they way through you are going to be peeling each little letter up from the mat and then peeling off the backing of each one..it's doable so if you mess up it can still be used..it just takes sooooo much extra time!)
this might take a few cuts to figure out what setting your cutter needs to be at before you have exactly how you want it!!!!
(for the record...after a few times using it (and trying to cut through fabric (yesterday) my blade wasn't as sharp...so i automatically put it past the suggested pressure. it says 3..i put it at a 5. toy around and figure what works best for you!)
alrighty..some commenter wanted to know how to cut longer than than 12x12 mat the silhouette studio shows...
the cameo cuts 12 inches (well..almost 12) by 10 feet long..
and some people didn't know how to do 10 feet.....
(psst...silhouette now sells mats that are 12x24...and expressions vinyl will be selling some soon!)
but if you want REALLLLy long...
(you will have to be cutting with vinyl--you can buy vinyl buy the roll HERE
expressions vinyl has a great video of this HERE
it's super easy..just an adjusting of the size...

when you start a project...you are here at this screen...(page)

see the width and height? you can adjust it to whatever size you need!

and if you get it like this and realize you want it long not wide..you can click from landscape to portrait....


portrait!
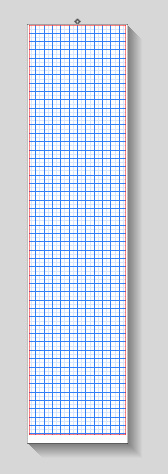
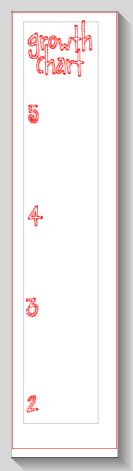
alright...so you have this big giant project! i decided to make a growth chart...and since it was massive and i had to have it measured out just right..i went to my grid button and spaced out the grid to one inch.


and i adjusted my character spacing to make the chart right under the growth (the tutorial is found HERE)

then i added my numbers...
I went back into grid and click the show grid and was able to space them out appropriately!

this is where the zoom buttons come in very handy!


now you can go in and add fun little frames for pictures or flowers or balls or whatever suits your fancy


then you just load your vinyl and cut!

(i have a BIG project i'm going to tackle using this technique..pretty psyched about it....which probably means it won't turn out.)
okay so as usual..leave me any questions you have about your cameo and i will try my very stinking best to answer them!
next month is registration marks...using your cameo with your printer and using all those fun colors and patterns!!!!

I am loving all of this info. I feel like such a dummy each and every time I go to use my Cameo. It bums me out because I love it when I get it work the way it should :)
ReplyDeleteThanks for continuing to help!
I am SO loving the growth chart idea! Can't wait to follow your series! :) Great to find you! :)
ReplyDeleteMackenzie
cheeriosandlattes.com
Haha I like my "shout out" in there! These are awesome for me because I am still getting to know my Cameo friend.
ReplyDeleteVery good your blog!
ReplyDeleteI wish we follow him via GF and Facebook?
I leave my blog and my Facebook page, let me know to follow me too :)
http://www.facebook.com/LoveClothesAndThings
http://loveclothesandthings.blogspot.com.es/